

close
Choose Your Site
Global
Social Media
Views: 0 Author: Site Editor Publish Time: 2026-07-08 Origin: Site


Unsealed concrete joints act as open doors for destructive water infiltration. Left ignored, they allow moisture to erode the underlying sub-base and trigger severe slab settling. This oversight invariably leads to costly structural repairs and extensive water damage. Facilities managers often weigh their options among acrylics, silicones, and urethanes. While softer materials exist, polyurethane remains the gold standard for heavy-duty commercial applications. It handles intense industrial demands far better than lighter alternatives.
Our guide provides a rigorous technical framework for your next project. We will help you evaluate, select, and properly apply a polyurethane sealant for concrete joints. You will learn the exact preparation methods required for horizontal and vertical surfaces. Follow these steps to achieve a permanent, watertight seal that protects your structural investments.
Polyurethane outperforms silicone in high-traffic concrete applications due to superior abrasion resistance, structural adhesion, and paintability.
Selection dictates application: Self-leveling formulations are strictly for horizontal surfaces, while non-sag (gun-grade) variants are required for vertical or sloped applications.
Long-term waterproofing success relies 20% on the sealant and 80% on preparation, specifically moisture control, proper backer rod sizing, and strict adherence to the 2:1 width-to-depth ratio.
Procurement should be based on joint movement capability (typically +/- 25% to 35%), Shore A hardness, and project volume (cartridges vs. bulk packaging).
Polyurethane forms an incredibly aggressive chemical bond on porous substrates. Concrete and masonry contain microscopic pores. Liquid urethane polymers penetrate these tiny cavities before curing. They lock in mechanically and chemically. You rarely need a separate primer for standard applications. This characteristic saves valuable labor hours on large commercial sites. When you need a reliable waterproof sealant for concrete, polyurethane delivers unmatched substrate grip. It actively resists peeling even under constant environmental stress.
Pedestrian crowds and heavy machinery destroy weak sealants. Silicone often tears under the shear stress of a turning forklift tire. Polyurethane acts entirely differently. It cures into a tough, rubber-like solid. It deflects direct tire pressure and resists punctures from loose gravel. We heavily recommend it for distribution centers, loading docks, and high-traffic pedestrian walkways. It survives mechanical abuse better than virtually any other flexible compound.
Commercial architects and property managers demand seamless aesthetics. You cannot paint over silicone. Paint simply beads up and rolls off silicone surfaces. Polyurethane solves this problem perfectly. Once fully cured, it accepts standard acrylic and elastomeric coatings. You can paint the cured joints to blend seamlessly into the surrounding architecture. This preserves the visual integrity of decorative flatwork and tilt-up panels.
We must establish objective credibility by acknowledging material limitations. Ultraviolet (UV) rays degrade raw polyurethane over time. Direct, relentless sunlight attacks the chemical structure. The surface will eventually chalk and turn slightly yellow. You can easily prevent this degradation. Simply paint over the cured joint using a compatible elastomeric coating. The paint blocks the UV rays and extends the joint lifespan significantly.
Always conduct a small pull test on a discrete section before committing to a full-scale application.
Apply a compatible acrylic topcoat if the joint faces direct, daily sun exposure.
Keep traffic off the sealed area until the compound reaches its full structural cure.
Your surface orientation dictates your product selection. Using the wrong formula guarantees immediate project failure. You must categorize your project surfaces before purchasing an expansion joint sealant.
Manufacturers design self-leveling formulations exclusively for horizontal flatwork. You pour or pump the liquid into the gap. Gravity pulls the liquid flat, allowing it to seek its own level. It cures to a smooth, flush finish without manual tooling.
Use this variant for warehouse floors, driveways, parking decks, and sidewalks. You must heavily control the joint perimeter. Liquid urethane will escape through any unblocked gaps. Dam the ends of your joints to prevent the product from running off into soil or drains.
Non-sag variants handle vertical and sloped challenges. They hold their shape immediately upon extrusion. They feel and act like thick toothpaste. Gravity does not pull them down.
Use non-sag formulas for tilt-up wall panels, retaining walls, and any horizontal surface exceeding a 3% slope. You must manually tool this material. You will use a specialized spatula to press the heavy paste against the joint walls. Tooling forces the required chemical adhesion and leaves a clean, concave finish.
Using self-leveling liquid on a sloped driveway. The product will pool at the bottom of the incline.
Attempting to use non-sag paste on a massive warehouse floor. Tooling miles of floor joints wastes enormous amounts of labor.
Failing to block the ends of a horizontal joint before pouring self-leveling liquid.
Physical Characteristics Comparison
| Feature | Self-Leveling Formulation | Non-Sag (Gun-Grade) Formulation |
|---|---|---|
| Optimal Orientation | Strictly horizontal (0% to 2% grade) | Vertical, overhead, and sloped horizontal |
| Tooling Requirement | None. Gravity levels the surface. | Mandatory. Requires manual spatulas. |
| Viscosity Level | Low (Flows like heavy syrup) | High (Holds shape like dense paste) |
| Primary Applications | Warehouse floors, flat driveways, patios | Retaining walls, tilt-up panels, sloped ramps |
Concrete acts like a living sponge. It expands during hot summer afternoons. It contracts during freezing winter nights. Your concrete joint sealant must accommodate this thermal movement. Manufacturers rate flexibility using classes. Standardize your procurement on Class 25 or Class 35 sealants for active concrete joints. A Class 25 rating means the material can stretch 25% and compress 25% from its original cured width without failing.
You must balance flexibility against puncture resistance. The Shore A scale measures rubber hardness. A Shore A rating between 35 and 40 represents the ideal commercial balance. It flexes enough to survive thermal shifts. Simultaneously, it remains hard enough to reject sharp debris. High heels, rocks, and metal shavings will bounce off a 40-rated surface instead of piercing the waterproof barrier.
Facility downtime directly impacts operational efficiency. You must differentiate between tack-free time and full structural cure. Tack-free time usually occurs within one to two hours. Dust and light debris will no longer stick to the surface. However, full structural cure often requires three to five days. Depth and humidity dictate this timeline. Polyurethane pulls ambient moisture from the air to harden. Dry winter air slows the curing process significantly.
Modern building codes demand strict environmental compliance. Always check the Technical Data Sheet (TDS) for Volatile Organic Compound (VOC) limits. Projects pursuing LEED v4 certification require ultra-low VOC emissions. Furthermore, review the extreme temperature flexibility ratings. Ensure the compound will not become brittle and shatter during localized winter freezes.
The 2:1 width-to-depth ratio stands as an absolute, non-negotiable law in waterproofing. A joint must always be twice as wide as it is deep. If you have a joint measuring one inch across, the sealant depth must equal exactly half an inch.
Why does this matter? The material needs specific physical dimensions to allow internal stretching (cohesion) without pulling away from the concrete walls (adhesion). Too deep, and the rubber cannot stretch. It will rip itself apart. Too shallow, and it lacks the surface area to grip the concrete.
You must install closed-cell backer rods before applying any chemicals. You press these cylindrical foam ropes into the gap. They serve two vital functions. First, they establish the exact depth needed for your 2:1 ratio. Second, they prevent three-sided adhesion.
Your material must only touch the two parallel concrete walls. It must never stick to the bottom of the joint. If it grips three sides, it cannot stretch laterally. Three-sided adhesion causes immediate, catastrophic joint failure during the first thermal shift.
Never apply polyurethane over damp or green concrete. Water acts as a chemical catalyst against uncured urethane. If moisture meets the liquid formula, they react violently. The chemical reaction releases carbon dioxide gas. This gas rises through the curing paste, creating severe bubbling. The resulting joint looks like Swiss cheese. It loses all structural density and immediately fails as a waterproof barrier. Concrete must cure for at least 28 days and remain completely dry.
Surface preparation requires aggressive mechanical action.
Use a stiff wire brush attached to a grinder to scour the concrete walls.
Remove all existing laitance, old caulking, and loose aggregate.
Follow up with a high-powered industrial vacuum to remove fine silica dust.
Do not use chemical cleaning solvents. Solvents leave an invisible film on porous concrete. This chemical residue acts as a barrier and actively blocks adhesion. Stick strictly to wire brushing and vacuuming.
Running out of material halfway through a pour ruins project timelines. You must build a framework for calculating linear footage yields based on joint dimensions. Manufacturers list expected yields on their packaging. A standard gap (1/2 inch wide by 1/4 inch deep) yields roughly 12 linear feet from a standard tube. Always calculate your total linear footage, divide by the yield, and order 15% extra for waste and spillage.
Evaluate your cost-efficiency based on project scale.
10 oz Cartridges: Best for minor repairs and small residential tasks. They fit standard manual caulking guns.
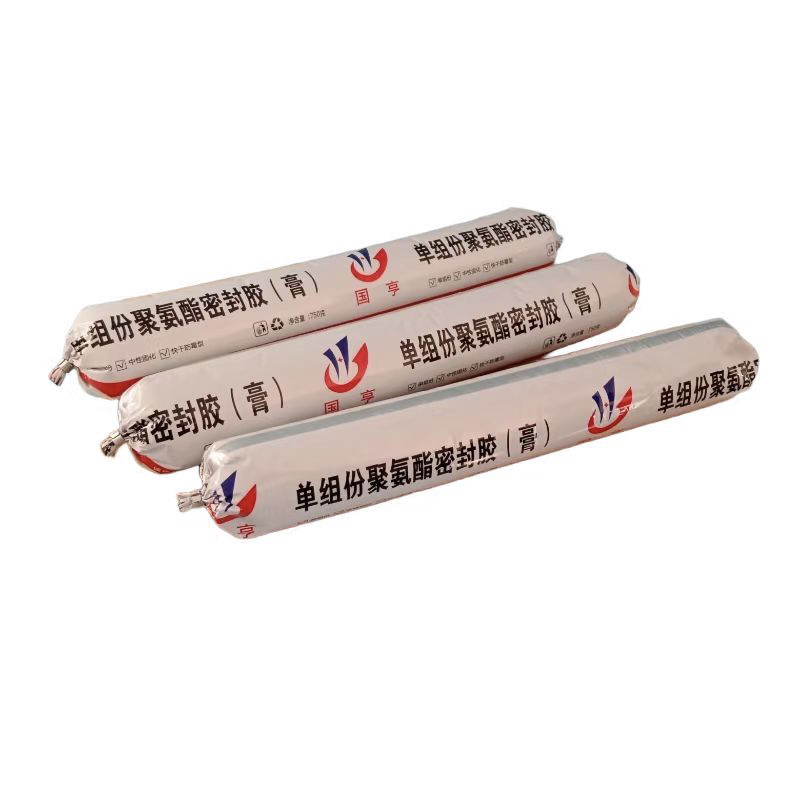
20 oz Sausages: Ideal for medium commercial projects. They reduce plastic waste dramatically. You squeeze them completely flat using a specialized barrel gun.
5-Gallon Pails: Required for bulk industrial applications. You will need specialized pump equipment to extract and apply the material. They offer the lowest cost per ounce.
Evaluate brands based on technical transparency. Trusted manufacturers make their Technical Data Sheets (TDS) and Safety Data Sheets (SDS) easily accessible on their websites. Review their warranty terms carefully. Look for brands that offer dedicated, system-compatible primers for unique edge cases. A manufacturer providing comprehensive technical support usually produces a superior, stable chemical compound.
Choosing the correct formulation directly prevents severe structural water damage. Polyurethane remains the most durable, paintable, and resilient option for heavy-duty concrete joints. It bridges the gap between necessary flexibility and aggressive wear resistance. You can secure the longevity of your facility by treating joint maintenance as a critical structural priority.
Remember that investing in proper preparation matters just as much as the chemicals you purchase. Closed-cell backer rods, dry concrete, and strict depth control determine your ultimate success.
Audit your existing joints and measure the exact width of your gaps.
Consult project-specific technical data sheets to verify movement class and Shore A hardness requirements.
Contact a structural materials representative to request a bulk pricing quote based on your linear footage calculations.
Schedule your application during a dry weather window to avoid outgassing.
A: Under typical commercial conditions, you can expect a lifespan of 10 to 15 years. This longevity relies heavily on proper UV protection and the volume of heavy vehicular traffic. Applying a compatible topcoat paint significantly extends its life by blocking destructive sunlight.
A: No. You must apply it to bone-dry surfaces. When uncured urethane meets moisture, it triggers a rapid chemical reaction called outgassing. This releases carbon dioxide, causing severe bubbling inside the joint. The seal will compromise entirely and fail to waterproof the gap.
A: Silicone offers higher elasticity and superior natural UV resistance. However, polyurethane wins decisively in abrasion resistance, substrate adhesion, and paintability. Polyurethane handles forklift traffic and pedestrian wear far better than silicone, making it the preferred choice for commercial concrete flatwork.
A: Many high-quality formulations act as self-priming agents on standard concrete. They bond aggressively without help. However, we heavily recommend using a compatible primer for continuously submerged joints, highly porous substrates, or crumbling, aging concrete walls.

